Tag: lm7 4 pin to 1 cable alternator wiring diagram​

  • LM7 4 Pin to 1 Cable Alternator Wiring Diagram Guide

    LM7 4 Pin to 1 Cable Alternator Wiring Diagram Guide

    When it comes to alternator wiring, one of the most searched setups is the LM7 4 pin to 1 cable alternator wiring diagram. This guide walks you through every detail you need to master this essential alternator wiring process. Whether you’re building a project car, upgrading your vehicle’s electrical system, or simply troubleshooting your alternator wiring, this post will help you understand how to wire your LM7 alternator properly and efficiently.

    By the end of this post, you’ll not only understand the wiring diagram but also how to ensure a proper connection that powers your vehicle’s electrical system reliably.

    What Is an LM7 Alternator?

    The LM7 alternator is typically associated with GM’s 5.3L Vortec engine found in various vehicles from the early 2000s. This alternator is known for its efficiency and durability. What makes the LM7 alternator wiring unique is the way it converts a factory 4-pin connector into a simplified 1-wire setup—a popular choice for those tackling engine swaps or simplifying their engine bay.

    Rather than utilizing the original 4-wire plug, the 1-wire method simplifies the process while maintaining effective charging.

    Why Convert to a 1-Wire Alternator Setup?

    Here are some of the benefits of converting from a 4-pin alternator to a 1-wire wiring system:

    • Simplified Installation: A 1-wire system eliminates unnecessary wires for a cleaner and more organized engine bay.
    • Improved Reliability: Fewer wires mean fewer chances of wear, loose connections, or failures.
    • Enhanced Adaptability: Ideal for custom builds, LS swaps, or vehicles needing an updated alternator system.

    While both setups achieve the same end goal—charging your vehicle’s battery and powering electrical systems—the 1-wire configuration streamlines the process, especially for projects or custom builds.

    The Wiring Basics of an LM7 Alternator

    Before we dive into the specific wiring diagram, it’s helpful to understand the basics of alternator wiring.
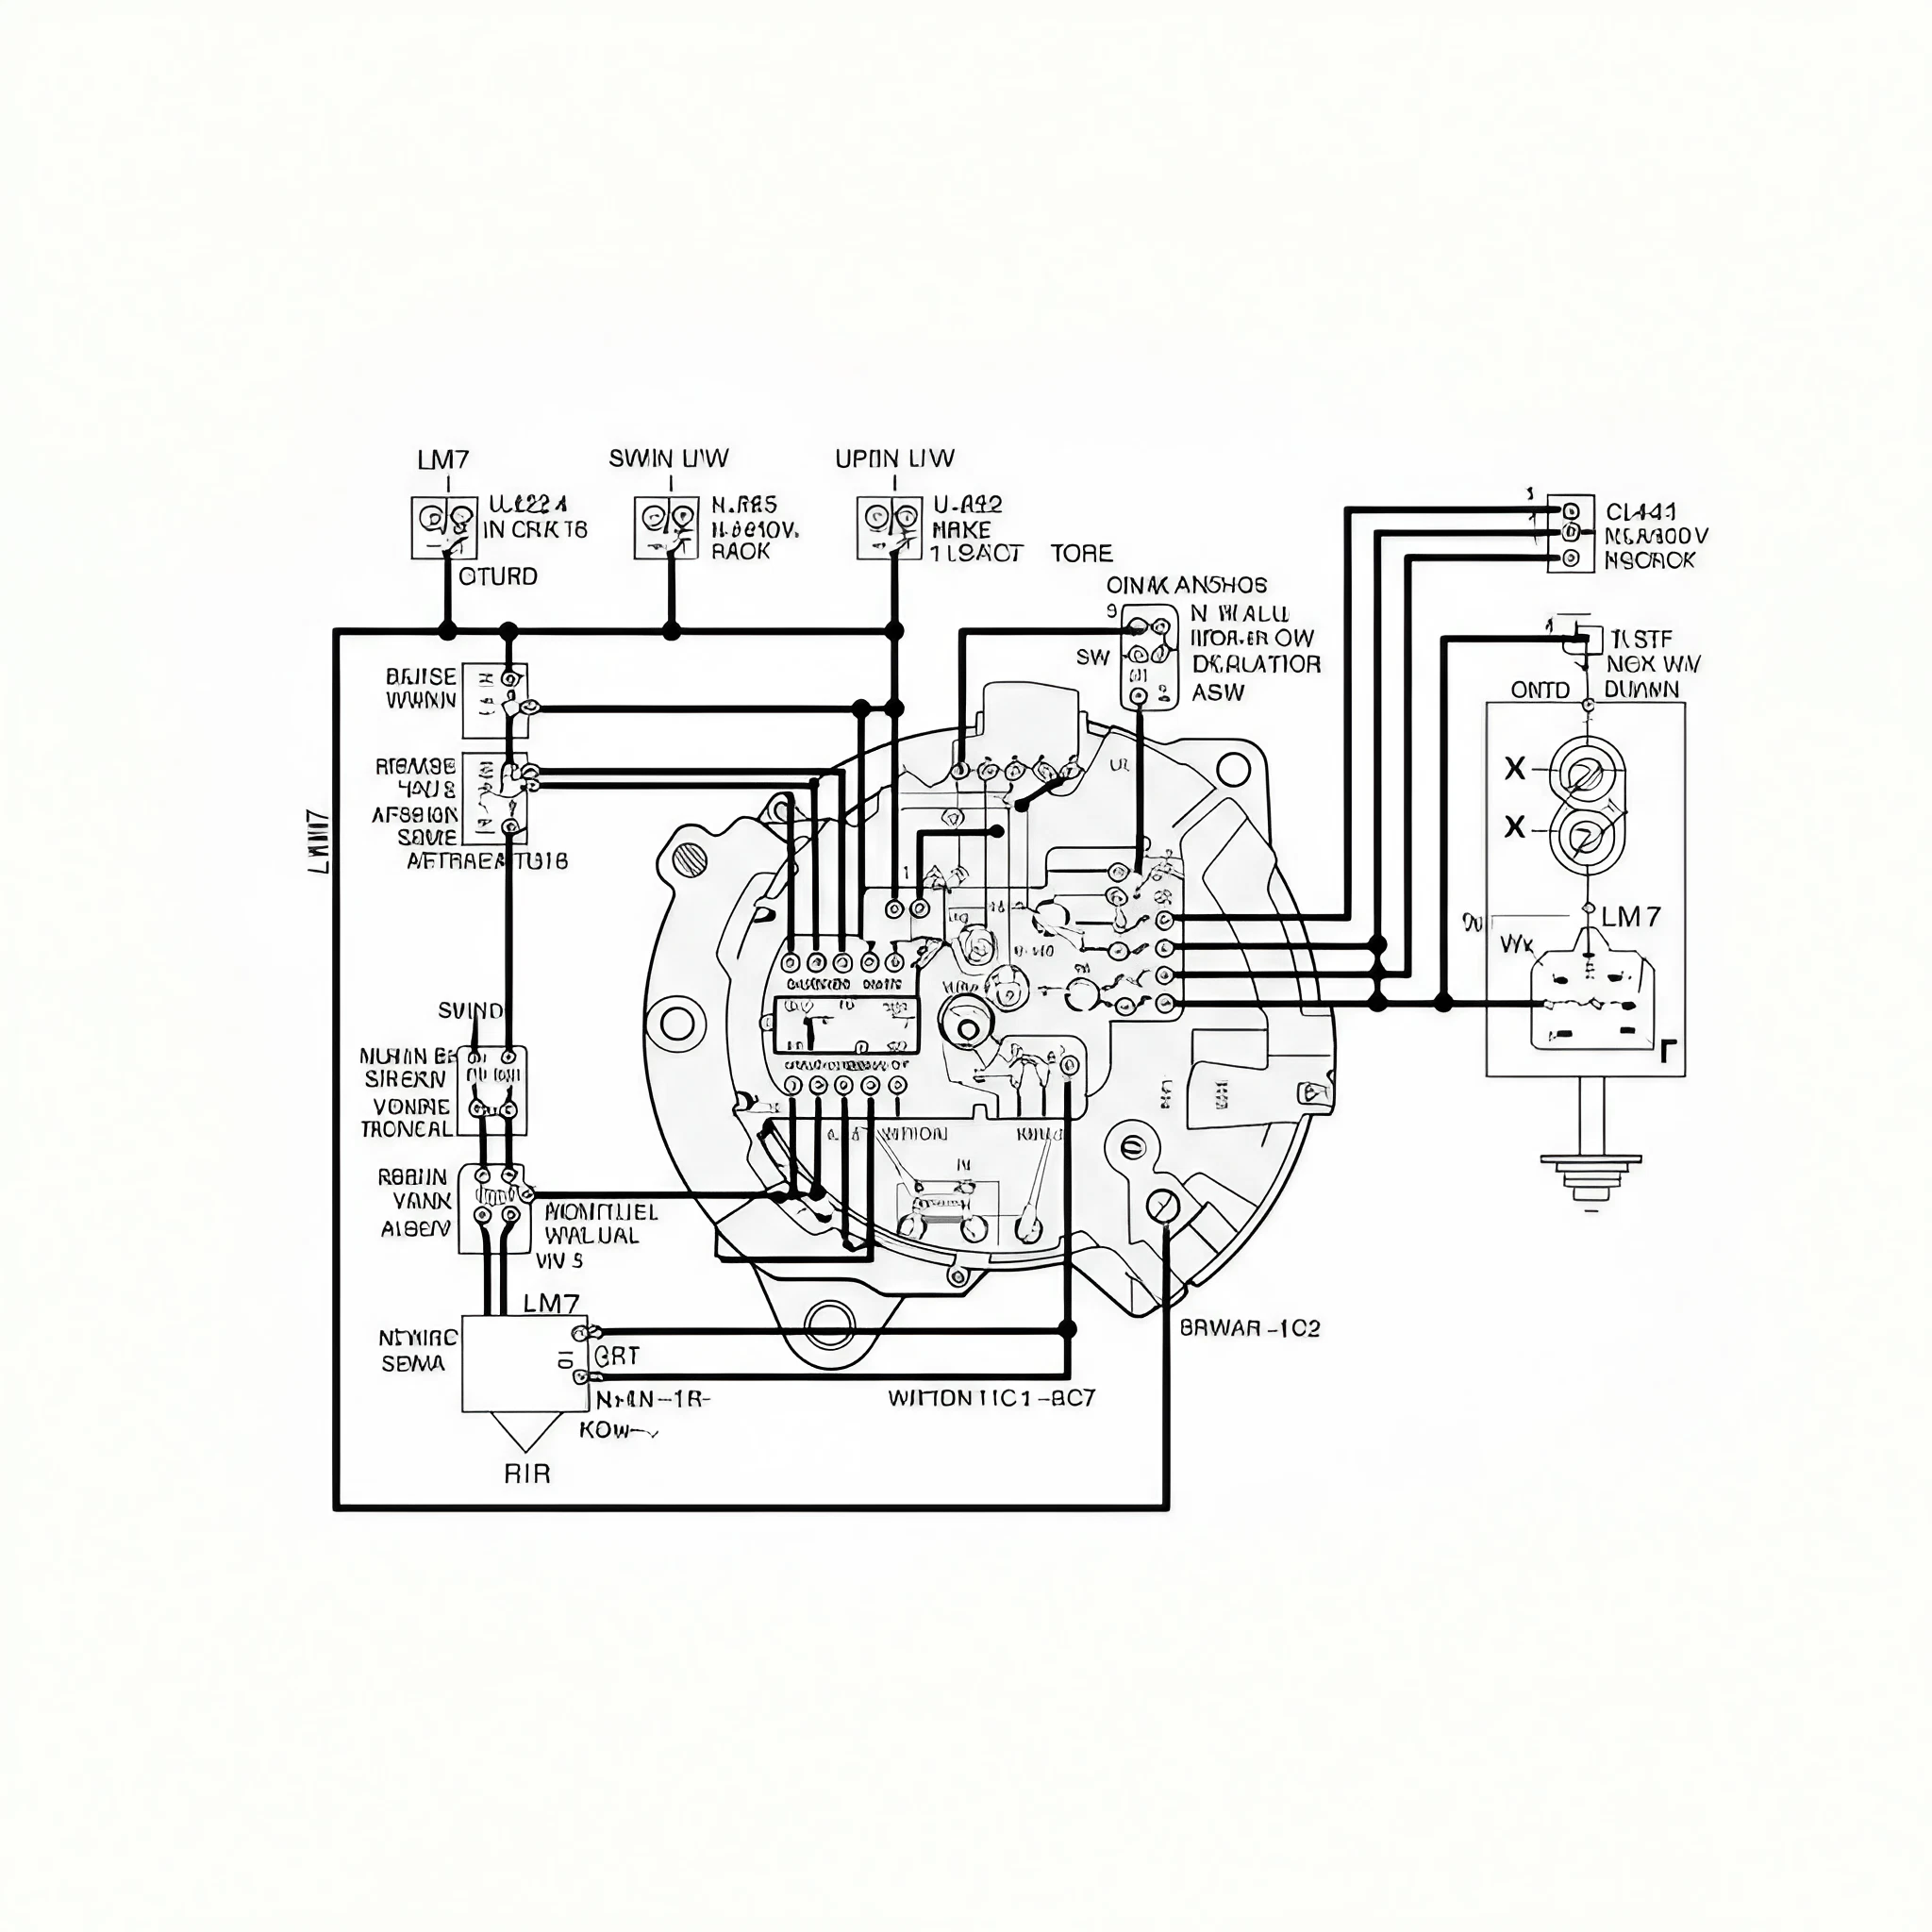
    The 4-Pin Connector

    The 4-pin connector on the LM7 alternator is standard for its original setup. Here’s what each pin typically represents:

    1. Pin L (Lamp): Provides the signal to the dashboard warning light.
    2. Pin F (Field): Used for regulator control.
    3. Pin S (Sense): Monitors battery voltage and adjusts charge accordingly.
    4. Pin P (Pulse): Outputs signals for the vehicle’s tachometer.

    The 1-Wire Conversion

    The 1-wire alternator bypasses much of this complexity. Instead of utilizing all four pins, it focuses on a simple connection that handles the charging process. The alternator senses voltage internally, eliminating the need for additional external connections.

    Next, we’ll break down the LM7 4 pin to 1 cable alternator wiring diagram for practical application.

    Step-by-Step Guide: LM7 4 Pin to 1 Cable Alternator Wiring Diagram

    Before starting, ensure you have the following tools and materials handy:

    • Wiring harness or adapter kit (if needed)
    • Multimeter to test connections
    • Electrical tape or heat shrink tubing
    • Wire cutters and crimpers

    Step 1—Locate the Alternator and Remove the Old Connector

    Begin by safely disconnecting your vehicle’s battery. Locate the 4-pin connector at the back of your LM7 alternator. Remove the plug and inspect the wiring for wear or damage.

    Step 2—Identify the Primary Charging Wire

    From the alternator’s original 4-pin layout, you’ll mainly work with the “L” (Lamp) wire that feeds into the warning light system. For a single-wire setup, this component is typically routed directly to the positive battery terminal or fuse box post for voltage supply.

    Step 3—Install a 1-Wire Adapter (Optional)

    If you have a wiring adapter kit, connect it to the alternator’s terminal. These kits simplify routing by consolidating the wires into just one cable.

    Step 4—Connect the Battery Connection

    The large output terminal of the alternator, typically labeled “BAT” or “B+,” connects directly to the positive terminal of the battery. Use an appropriate gauge cable for this connection to handle the current flow.

    Step 5—Secure Grounding

    Ensure the alternator is well-grounded to the engine or chassis. The ground connection is critical for the alternator to function correctly.

    Step 6—Test the System

    Reconnect your vehicle’s battery. Use a multimeter to confirm proper voltage output when the engine is running. A healthy alternator should produce around 13.8 to 14.4 volts at idle.

    Optional—Install a Warning Light

    For those who prefer a dashboard warning light, connect the “L” wire from the original 4-pin connector to the light. This step is optional for many 1-wire setups, as the alternator regulates itself internally.

    Troubleshooting Common Issues

    While the process may seem straightforward, issues can occur. Here’s how to handle common wiring problems:

    • Low Voltage Output: Check your connections, especially the main battery wire, and ensure the alternator is charging within the recommended range.
    • Dashboard Warning Light Always On: This indicates a potential short or incorrect connection to the warning light wire. Verify the wiring path for continuity.
    • Overcharging: If the alternator outputs more than 14.5 volts, the internal regulator may be faulty or damaged.

    Frequently Asked Questions

    Can I use a stock alternator for a 1-wire setup?

    Yes, you’ll need an internal regulator or adapter to make your stock LM7 alternator compatible with a 1-wire configuration.

    Is a 1-wire alternator better for engine swaps?

    Absolutely. The simplicity of the 1-wire setup makes it perfect for custom builds or LS swaps, where reducing clutter and simplifying wiring is a priority.

    Do I need an external voltage regulator with a 1-wire alternator?

    No. Most 1-wire alternators include an internal voltage regulator, making external regulators unnecessary.

    Power Your Electrical System the Right Way

    By following this step-by-step guide to wiring an LM7 4-pin to 1-cable alternator, you can simplify your setup, improve reliability, and keep your vehicle performing at its best. Whether you’re a seasoned mechanic or a DIY enthusiast, understanding your alternator wiring is a key skill that can save you time and effort in the long run.

  • LM7 4 Pin to 1 Cable Alternator Wiring Diagram

    LM7 4 Pin to 1 Cable Alternator Wiring Diagram

    If you’re upgrading your LM7 alternator and converting the 4-pin connector to a 1-wire setup, proper wiring is key for reliable charging. This guide covers each pin’s function and the steps to simplify your setup. By the end, you’ll confidently adapt your alternator for optimal performance.

    Understanding the 4-Pin Connector on LM7 Alternators

    The LM7 alternator uses a 4-pin connector designed to interface with the vehicle’s electrical system. Each pin serves a unique role, and knowing these functions is essential for proper wiring.

    Pin Breakdown:

    1. Pin S (Sense)
      • Function: Monitors battery voltage to help the alternator adjust output accordingly.
      • Connection: Typically connected to the main output terminal or battery for real-time voltage monitoring.
    1. Pin F (Field Duty Cycle)
        • Function: Outputs a signal that provides feedback to the engine control module (ECM) about the alternator’s field status.
        • Connection: Often unused in most configurations unless the ECM requires this data.
    1. Pin L (Lamp)
        • Function: Activates the charge warning light on the dashboard if there’s an issue with the alternator. It requires a switched 12V source to function.
        • Connection: Connected to a switched 12V source, often with a resistor in line to limit current flow.
    1. Pin P (Phase)
        • Function: Provides a diagnostic signal for monitoring alternator performance (e.g., RPM detection).
        • Connection: Rarely used in everyday applications.

    By default, the 4-pin connector provides excellent functionality for vehicles that rely on ECM-based control and advanced diagnostics. However, for simplicity or in custom builds, converting the system into a 1-wire alternator can be more practical.

    Why Convert to a 1-Wire Alternator?

    A 1-wire alternator setup simplifies the wiring significantly by combining all necessary functionalities into a single connection. This type of setup is highly popular in hot rods, custom builds, or simplified engine swaps with an LM7 engine.

    Key Benefits of a 1-Wire Alternator:

    • Simplified Wiring

    Instead of managing multiple connections, you’ll only need to handle the main output and a few basic adjustments.

    • Self-Excitation

    Most aftermarket 1-wire alternators are designed to self-excite once they reach a specific RPM, eliminating the need for an external excitation source.

    • Clean Installation

    With fewer wires, the installation looks tidier, which is often a priority for custom engine bays.

    How to Convert an LM7 4-Pin Alternator to a 1-Wire Setup

    Here’s a step-by-step guide to converting the LM7 alternator with its 4-pin configuration into a 1-wire setup. Follow these instructions carefully to ensure safe and effective wiring.

    Step 1: Prepare Your Tools and Materials

    You’ll need the following tools for the task:

    • Wire cutters and strippers
    • Soldering iron or crimp connectors
    • Electrical tape or heat shrink tubing
    • A multimeter to verify connections

    Step 2: Connect the Main Output (BAT+) to the Battery

    Locate the main output terminal on the alternator, often marked as “BAT+.” This terminal is responsible for sending the charging current to the battery.

    • Route a heavy-gauge wire directly from the BAT+ output to the positive terminal of your battery or starter solenoid.
    • Ensure the connection is secure and well-insulated to avoid short circuits.

    Step 3: Tie Pin S to the BAT+ Terminal

    Pin S is designed to monitor the battery voltage. To simplify the setup, connect this pin directly to the BAT+ terminal on the alternator.

    • Use a short jumper wire and ensure the connection is solid.

    Step 4: Provide Switched 12V Power to Pin L

    Pin L controls the charge warning light and requires a switched 12V source.

    • Connect this pin to a 12V source that activates when the ignition is turned on.
    • Include a resistor (typically 470 ohms, 1 watt) in the circuit if your vehicle does not already have one, to regulate current flow.

    Step 5: Leave Pins F and P Unused

    Pins F and P are not essential for a 1-wire conversion. Simply cap these terminals to prevent accidental short circuits.

    Step 6: Test the Setup

    Before starting the engine, use a multimeter to verify all connections are secure and providing the correct voltage.

    • Once verified, start the engine and confirm that the alternator begins charging the battery after reaching the self-excitation RPM.
    • Check the dashboard to ensure the charge warning light functions correctly.

    What About Aftermarket 1-Wire Alternators?

    If you prefer an even easier option, consider replacing your stock LM7 alternator with an aftermarket 1-wire alternator. These units are designed to eliminate additional wiring and typically self-excite at a specific RPM, making installation a breeze.

    Benefits of Aftermarket 1-Wire Alternators:

    • Pre-configured for self-excitation.
    • No need for manual connections to Pin S or Pin L.
    • Available in various size and output configurations to match your setup.

    Several manufacturers offer high-quality 1-wire alternators compatible with the LM7 engine. Popular brands include Powermaster, Tuff Stuff, and Mechman, each delivering reliable performance and efficiency.

    Tips for Successful Wiring and Maintenance

    • Use Quality Wires: Always use wires with the appropriate gauge and insulation to handle the alternator’s amperage.
    • Inspect Connections Regularly: Loose or corroded connections can result in reduced efficiency or electrical issues.
    • Protect Against Heat: Install wiring and the alternator in a way that minimizes exposure to excessive heat, which can damage components over time.

    Transform Your LM7 Wiring Setup Today

    Converting your LM7 alternator from a complex 4-pin system to a simplified 1-wire setup can save you time, reduce complications, and clean up your engine bay. By following the steps outlined above, you’ll ensure a reliable and efficient charging system that meets your vehicle’s needs.